Thursday, June 13, 2013

Home Decor... Horn Decor.. Same thing!

My home decor has turned into a horn decor. Hahaha!
I have finished my project that I made with deer horns. I made a picture frame holder!! 
Ta Da!!!! My picture is a 5x7 and I think I'm going to need to use an 8x10. Needless to say, it is finished and hung proudly on the hubby wall.... What I mean by that, it is right next to these beauties. 
The notorious duck from the previous post made it into the living room.... And the horn mount, well that was a gift... Who can say no to a birthday gift? Do you see why I lose these battles? I guess I don't help the cause when I made a picture frame holder... But, in my defense, if it's going to be displayed in my house and on my wall, then I better make or pick things that are my taste, right?
At least this is what I keep telling myself.

We also added a need western addition to our home, and I really like it...
If  we are going to live together, we might as well decorate together. (: So, after swallowing my pride and I am now proudly displaying my horn decor, and welcome to our home!

Elk Stuffed Peppers

I have found that our freezer is full with a lot of ground Elk, and I've done my best to use it in many different ways. This is a recipe that is nice for a change of pace.

1lb. of ground Elk
16oz can of Black Beans (drained)
2T. of taco seasoning
1/3 C. of shredded cheese
1/2 C. of Sour cream
1/2  C. of chopped onion
16oz can of Corn Kernels (drained)
4 Bell peppers
2 T. of Olive Oil

Preheat oven to 400 degrees
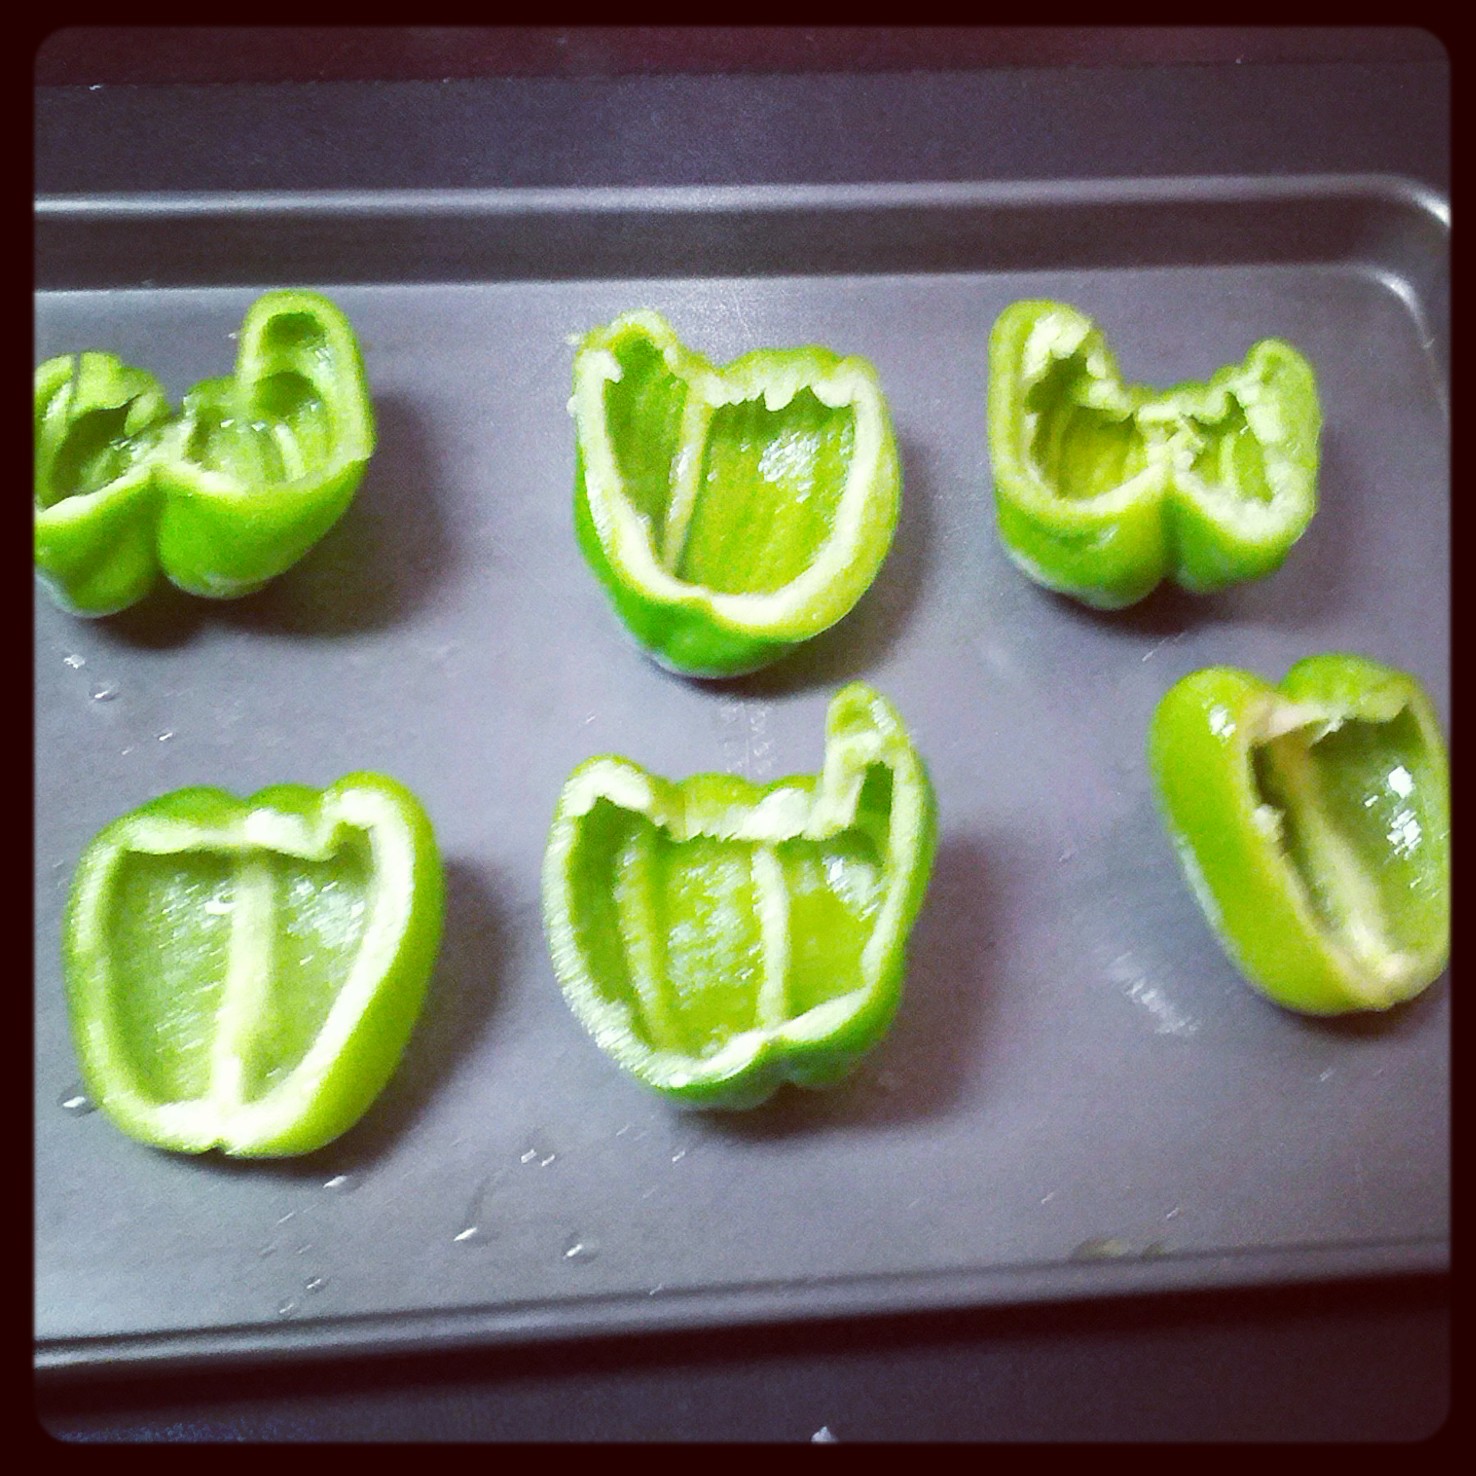
Start with your bell peppers and slice them in half and clean out the seeds. Once you have done this and cleaned them out well, you want to use 1T. of olive oil and coat the pepper halves. Place them on a cookie sheet and let them bake in the oven for 15 minutes. This will soften your pepper and that is exactly what you want.


In a medium sized skillet you want to heat the remaining oil in the pan and add your meat. Brown the meat and add your seasoning. Once cooked well together add your onions and saute with the meat. Once onions are cooked, in a large bowl you will want to combine the meat mixture, sour cream, corn and beans. Mix well!
 Peppers should be ready to pull out! This is the stuffing part of the recipe, spoon in the mixture into each pepper half. Fit as much as possible!  Once you have them filled coat the peppers with cheese. I love cheddar, so that is what I used.
Place in the oven again, but this time it's only for the cheese to melt. In my oven  it takes about 5 minutes.
Once done they are ready to serve!!! Enjoy!! They are pretty yummy!!!

Homemade Fries

I married a steak and potatoes man. Sometime, I need a change from mashed potatoes or baked potatoes, so this is a nice way to add a little change to our diet. Also, it is yummy!!!!

5 potatoes, or 4 large potatoes
2T. of Olive Oil
4 C. of cold water
Salt to taste

Preheat oven to about 400 degrees. I start by peeling most of the potatoes, you can leave the skin on them, but I found that I like it better without.

Then I slice the potato into strips like french fries, an 1/6 to 1/4 inch thick is what I aim for. Once I have them all sliced I soak the strips in the a medium sized bowl filled with cold water.
 This helps keep them from browning. I let them soak for at least 5 minutes and get ready for the baking process. Drain the water, and then add the Olive Oil  to the bowl. You want to coat all the fries. So I make sure that it is well mixed and all of them are coated with a little oil.

Now you want to place them on a cookie sheet for baking. It is best if they do not over lap so lay them on the cookie sheet, and try to fit as many as you can. Before placing them in the oven I like to add a little salt to the top layer of them. Once they are all laid nicely on the cookie sheet, stick them in!

I cook them for about 15 minutes, and then pull out the cookie sheet. I flip the fries so that way one side doesn't burn the entire time. I cook them for another 10 minutes, but be careful since every oven is different. You will just need to watch and see what works best for yours.
When they are done, I pull them out and a little salt to the top and they are ready to serve!!!
You will know when they are ready by their golden color! Enjoy!!!